This past Friday was my bother Joe's birthday, and he is a huge fan of Nintendo- mostly all the old original NES games, so I wanted to do a NES theme- with limited time to do it I figured the game system and a few accessories would make a nice cake- I originally had hopes of sticking a few Nintendo characters on the cake too- but not enough time.
I started by baking a chocolate sheet cake, which I cut in half and stacked, layering with ganache:
Then it was time to carve. I traced the shape of the console and made some cardboard templates- which I trimmed an eighth inch off of all sides to allow for the fondant. I used a cereal box for the template, and the shiny printed side was nice for not sticking to the cake. I attached a template to each side with a little ganache and started carving:
Then I covered the entire thing with ganache:
I didn't want to put the fondant on too early, as I 'd be leaving it out of the fridge after that, so I moved onto the accessories. I used modeling chocolate for the controller and game cartridge:
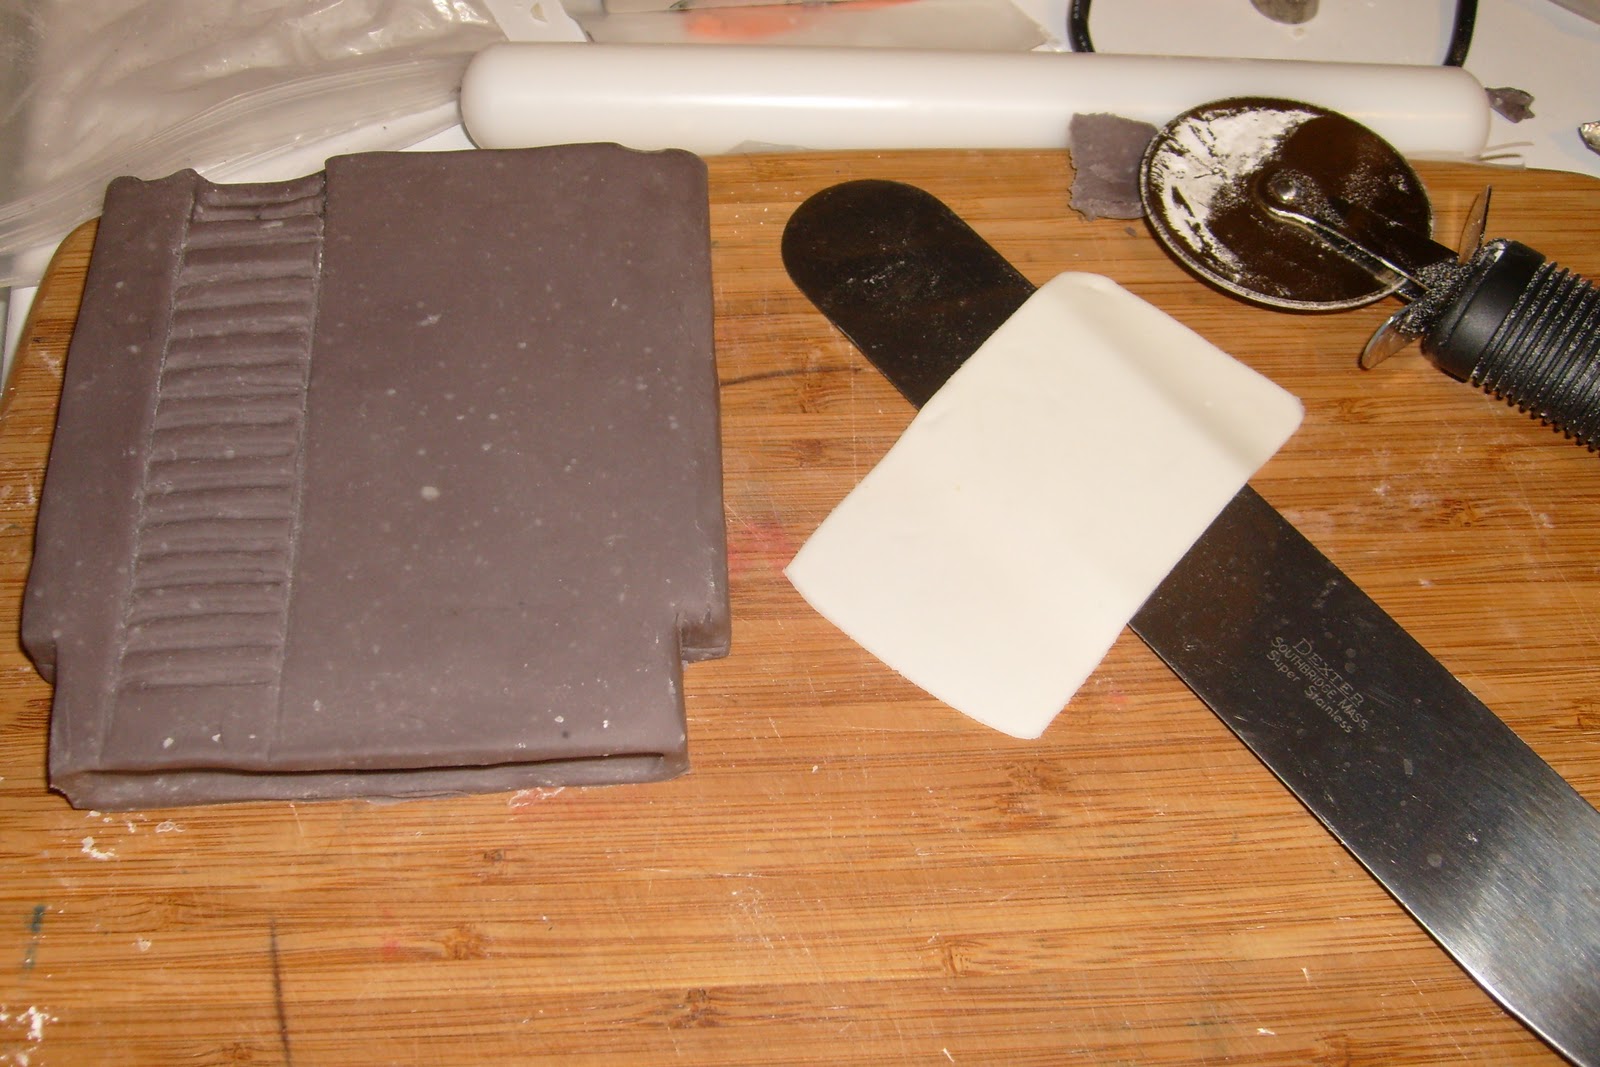
For the label of the cartridge and the top of the controller I made a waxed paper outline, and then rolled some fondant as thin as possible so I could paint on top (modeling chocolate usually resists painting with food color)
For the controller, I also added modeling chocolate details for the arrows and buttons: I painted the black and grey on top of the fondant and then left it overnight before attempting to paint the Nintendo logo and words with red to avoid bleeding
I rubbed a little shortening over the carved cake and started covering with fondant, which did not drape as well as I had hoped. I started with the lighter-colored top first (I colored my fondant the night before so it could rest before applying- it's usually a little harder to deal with if you try to color it and then apply right away, in my experience)
I trimmed away the excess and added the darker grey in pieces around the bottom, pinching the seams together. I have read about blending seams in fondant by just rubbing with a little shortening, but I've never had success and usually end up with shiny seams )
I added some modeling chocolate details:
I then finished painting on the controllers (which didn't show up well- the black kept absorbing the red)
I rolled a long rope for the cord- I got it as thin as I could before it started breaking
I used gumpaste tools to press the ridges in the top of the unit, and inlaid black modeling chocolate for the plug-ins
And the two side-by-side:
I am my own worst critic of course, so all I could see were the fondant imperfections and grainy lumps in the modeling chocolate, but my brother like his cake (and actually asked how long it would last if it didn't get cut) so that is all that matters