First, I apologize for not posting sooner. I made this cake a few weeks ago and haven't had the time to write a post. For my boyfriend's niece's first birthday I was asked to do the cake, either Wonder Pets or Jack's Big Music Show (cue the sound of crickets)- to the Google machine!!! O.k., After a quick Google search Jack's Big Music Show is way cuter, so decision made. For clueless non-parents like myself here are the contenders

Allright, maybe it's a Guinea Pig, tomato, tomahto
See, way more adorable!
For the first step I went to the hardware store and had a piece of half inch thick MDF board cut
I was planning on covering with fondant, and didn't know if moisture would affect the board, so I covered it first with contact paper
Then I set up some templates and cake stand-ins to arrange my composition
I wanted the two characters in front to be free-standing, so I drilled holes where I planned on placing their legs
Next, I played unsafely with tools. The little saw we have in the house was too dull to cut the dowels, and the Sawz-All was at the boyfriends parents' house (It is, technically, theirs, but lives with us much of the time, just not when I need it:(), so I cut the dowels with the Dremel tool- which worked and smelled nice like burning wood, but probably not the best idea. Then I held the dowel sections with one hand, as I drilled guide holes in them- cuz I'm a loner Dottie, a rebel. Seriously, if anyone reads this blog for techniques- go out and get yourself a clamp for stuff like this
I used the drill to insert the screws through the bottom of the board, and then twisted them on. I had thought I would be able to use the drill instead of hand screwing, but it didn't want to work- perhaps because I got the hardwood dowels instead of the flimsy ones
Ta-da! If you look at the tops of the dowels you can see the evidence of burning from the Dremel
I cut out bases for the bodies from 1/2" foam core and attached with hot glue, since they wouldn't be supporting much weight
Next, covering the base. A real p.i.t.a. I wanted it to look like a wood-plank floor- but with the bright colors of the show. I marbled some green fondant with some white, cut into strips, and began attaching to the board using a little corn syrup. (note: don't toss leftover fondant, it will last for AGES in the fridge, and is great for covering bases)
I left a bare space where I would be placing the actual cake, so it would be set-in a little.
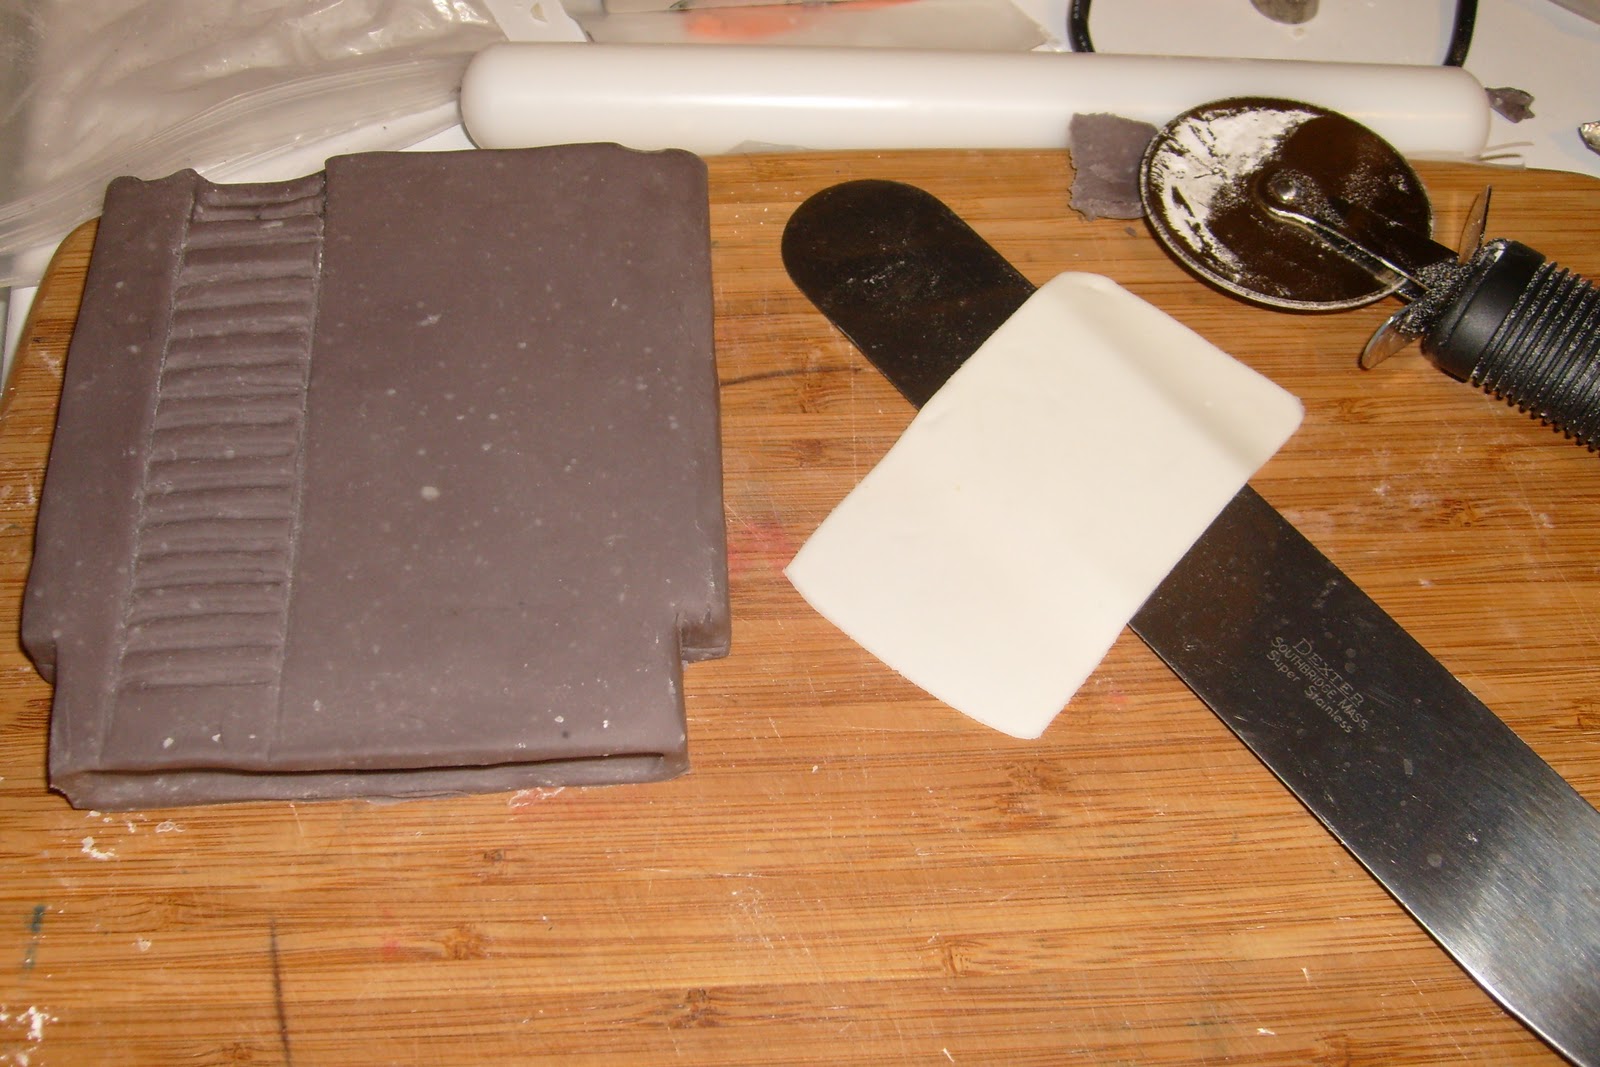
Next, I started working on the details using modeling chocolate
For the drum kit I started with RKT molded in tuna cans, then wrapped in modeling chocolate
I used gel paste colors mixed with Everclear to paint
I also made the doggie drummer out of RKT covered in modeling chocolate
The drumsticks are spaghetti pieces with a modeling chocolate ball on top
Next on to the guitarist and bassist (Sorry, never found out the names, though I'd assume the dog with the guitar is Jack)
I started by covering the dowels with the modeling chocolate
The shoes might just be my favorite part:)
For the actual cake I made a board of 1/2" foamcore, as I knew I would want to use a skewer to anchor the doggie drummer and needed a material that was conducive to stabbing
Cover with white chocolate ganache
While that set up, I worked on the other two figures. I baked their bodies in large skinny muffin pans and a mini wonder-mold pan
These were covered in chocolate gnanache and then modeling chocolate
After the ganache set on the cake, I covered it with fondant and painted it
Coming together
I love how the drummer turned out, but the other two disappointed me a bit. I think my problem was just working form the 2 pictures I had- I saw too late that in side views they had quite the protruding schnozzes, which I couldn't see from the front-views and probably affected how the end product turned out. It was fun playing (albeit, inappropriately) with some power tools- can't wait to tackle a PVC structured cake if I ever get a minute of free-caking time:(