Let's just say this post is gonna be a loonnnngg one- lots of details:) A few weeks ago I found out about the organization Icing Smiles;( http://www.icingsmiles.org/Site/Welcome.html and on Facebook at http://www.facebook.com/icingsmiles). It's a wonderful organization that makes special birthday cakes for sick children and their siblings. I signed on to be one of their volunteer bakers. It's a win-win situation, you get to make an awesome cake, and make a special kid happy. I got my chance to help out for a great kid in Chilton, Colton Brandenburg (Kopf), who is a relapsed cancer patient. Read his story and say hi to him here: http://www.caringbridge.org/visit/coltons
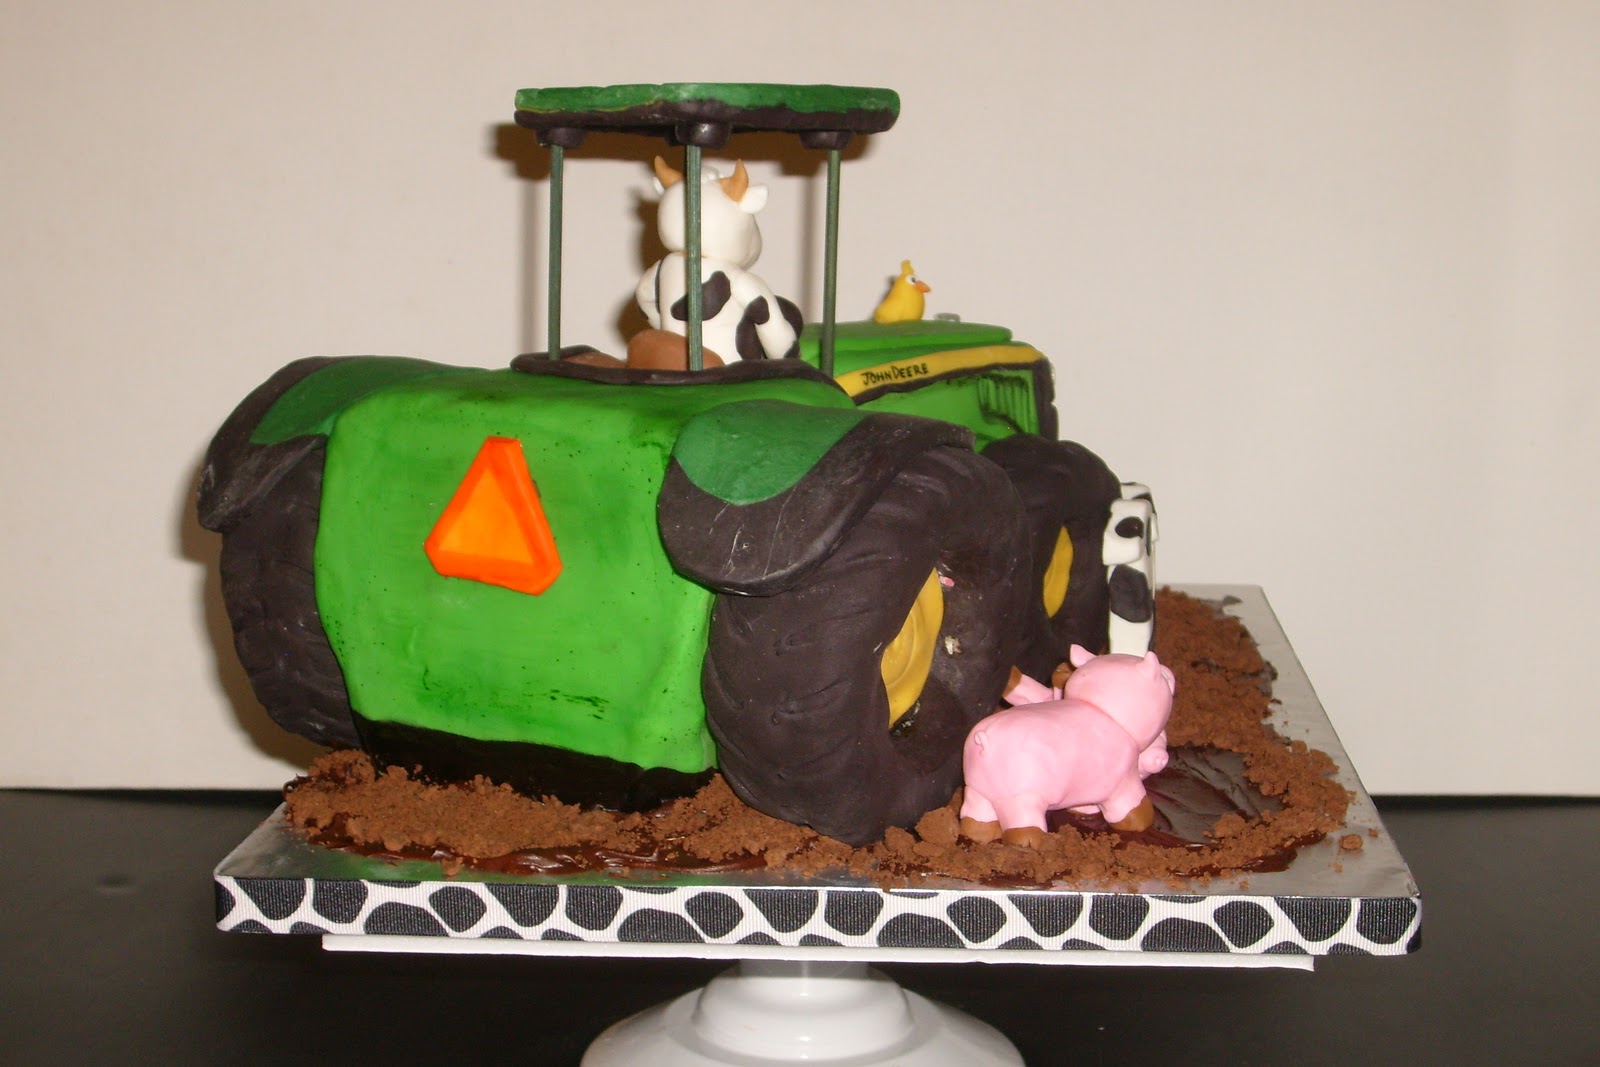
Colton's mom told me he loved John Deere and cows and away we go:) First stop:Fleet Farm-to get some reference material:


For the cake I decided to go and try the White Almond Sour Cream cake I'd been hearing about all over the Cake Central forums. Seriously, every other post uses the mysterious acronym WASC- supposedly so great for carving, moist, delicious, etc... Find the recipe here. It did taste pretty good, and was moist, but I fell in love because this stuff cuts like a dream- no crumbling, just dense, fine crumb. This may just be my go-to carving cake from now on.
 |
| Stacking and carving |
After the carving I covered the cake with ganache.

For the tractor wheels I made a batch of rice cereal treats and looked for round containers to use as molds. I ended up using a mini-springform and a tuna can. I packed them tightly in a general tire shape


Then covered in black fondant, using a gumpaste tool to indent the tread pattern.


I cut out gumpaste circles for the center and attached with a little water

 |
| Sizing up the driver's seat |
 |
| modeling chocolate at the ready |
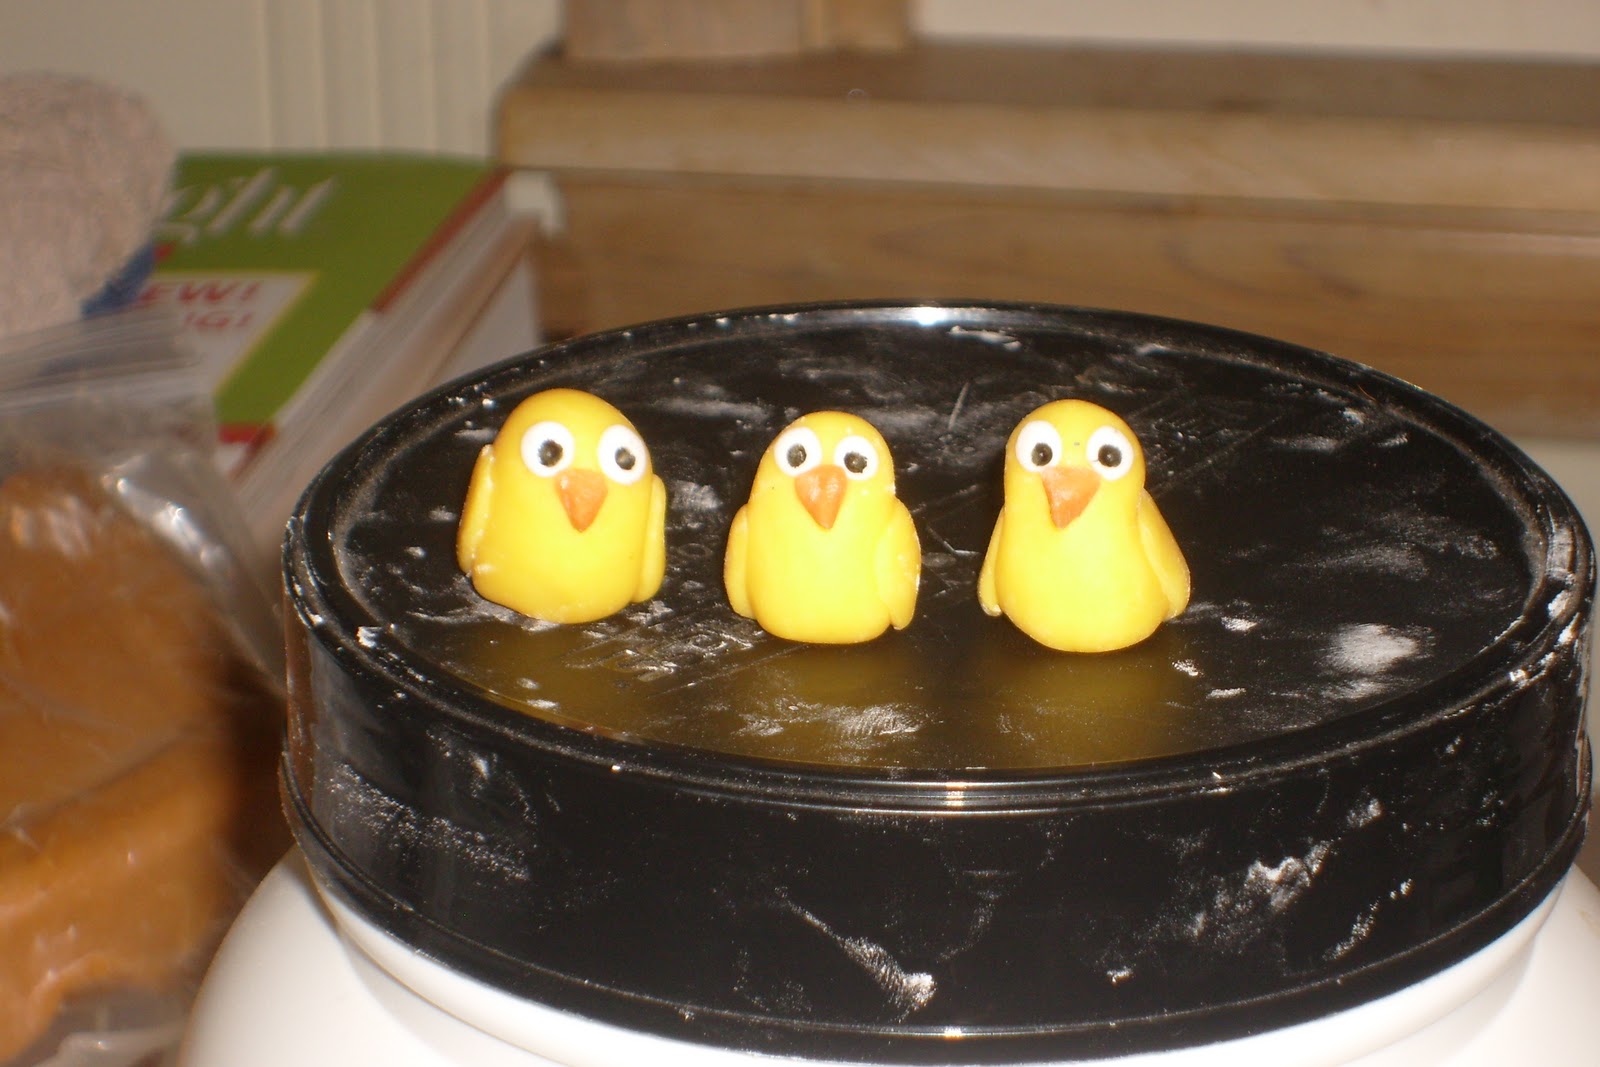
 Time to start the figures


I decided Colton needed a bunch of barnyard friend's to keep his cows company


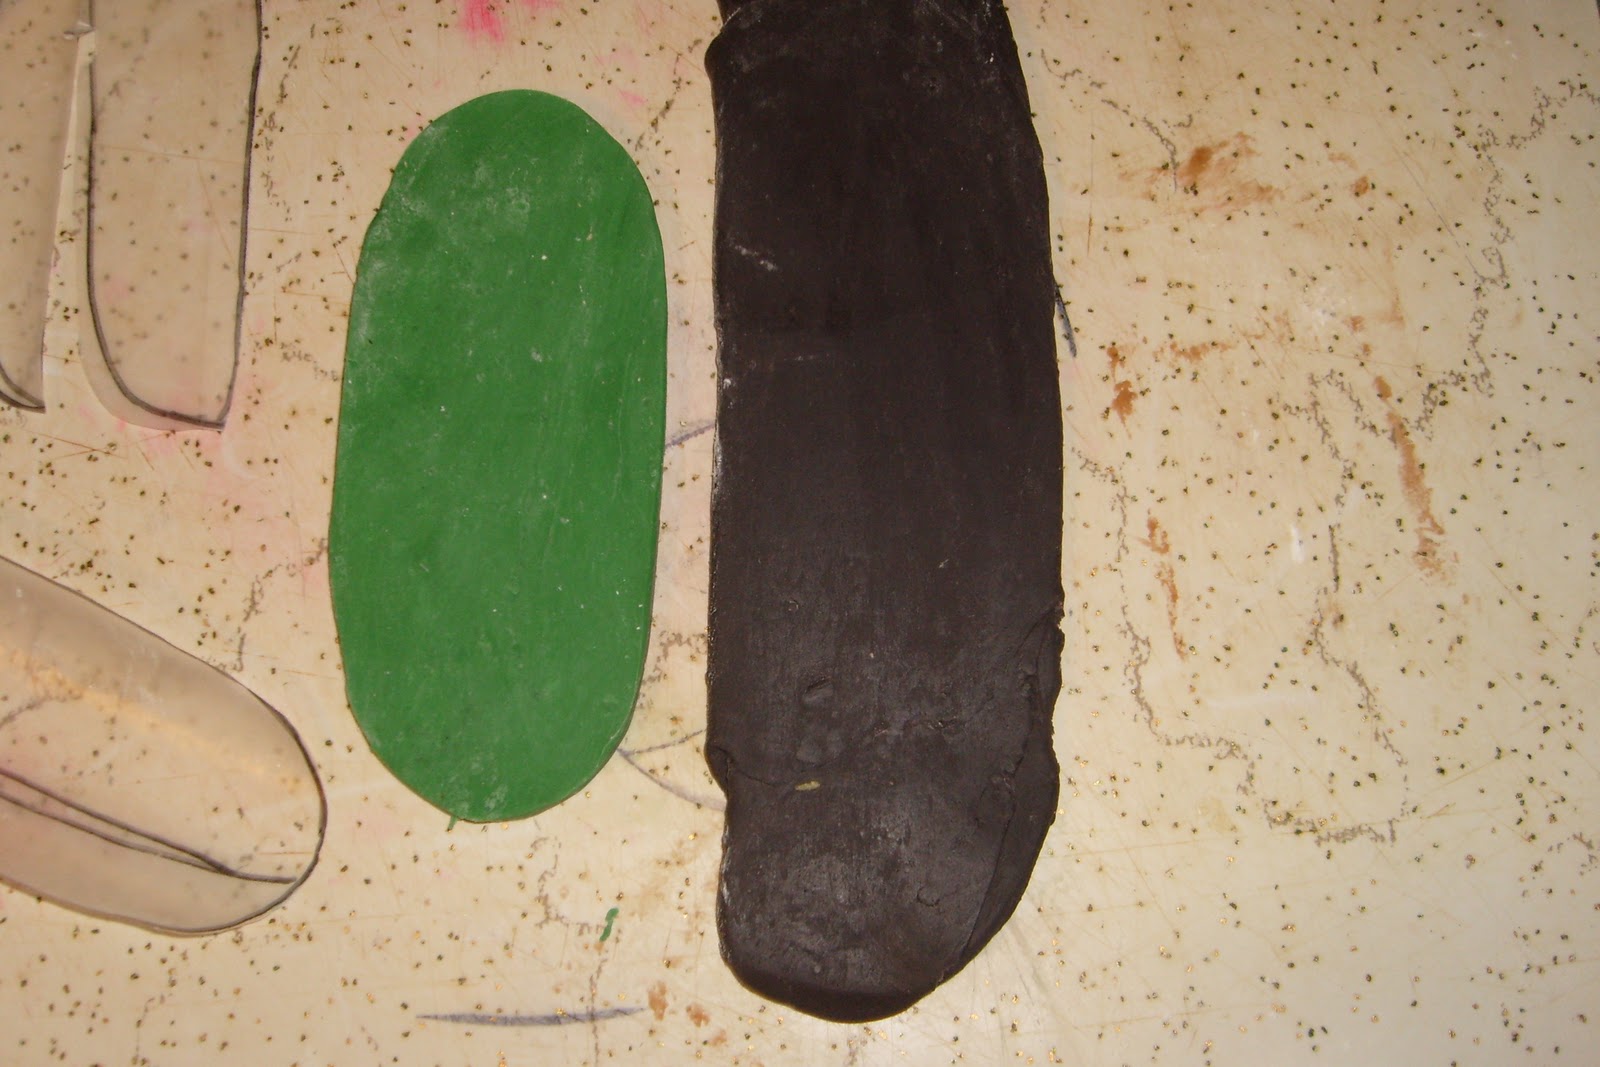
I colored a batch of fondant green (which took almost half a bottle- should have painted)

Covered the cake with a bit of shortening to help the fondant stick


The tractor shape was a huge pain to cover, but I knew I could hide a lot of the seams in the wheel wells (shhh!)


Many cake decorators us a ribbon on the sides of the cake drums, which I think is really cute, but haven't had the best luck doing. I first tried hot glue, which left obvious ridges; and then double-sided tape, which wasn't very strong and a pain to put on. I was wandering through the Wal-Mart when I saw a potential solution- they now make double-sided duck tape! It has a removable outer layer, making it easy to stick on, and the thickness lets the ribbon lie better without showing every imperfection of the board. I use an exacto knife to cut the strip the width I need.


 |
| Using a fondant smoother to roll an even log shape-which I learned from one of the fantastic Edna de la Cruz's Youtube videos |
Making the cab roof:


Now I just needed to hide the edges of the board

Cookies pulsed in the food processor make great looking dirt on top of chocolate frosting.

Then I cut out some hay bales from the extra cake


 |
| I just love this shot glass |


Now this is the point where I really wanted to quit because it was already past my bedtime; but there was a bunch of extra cake

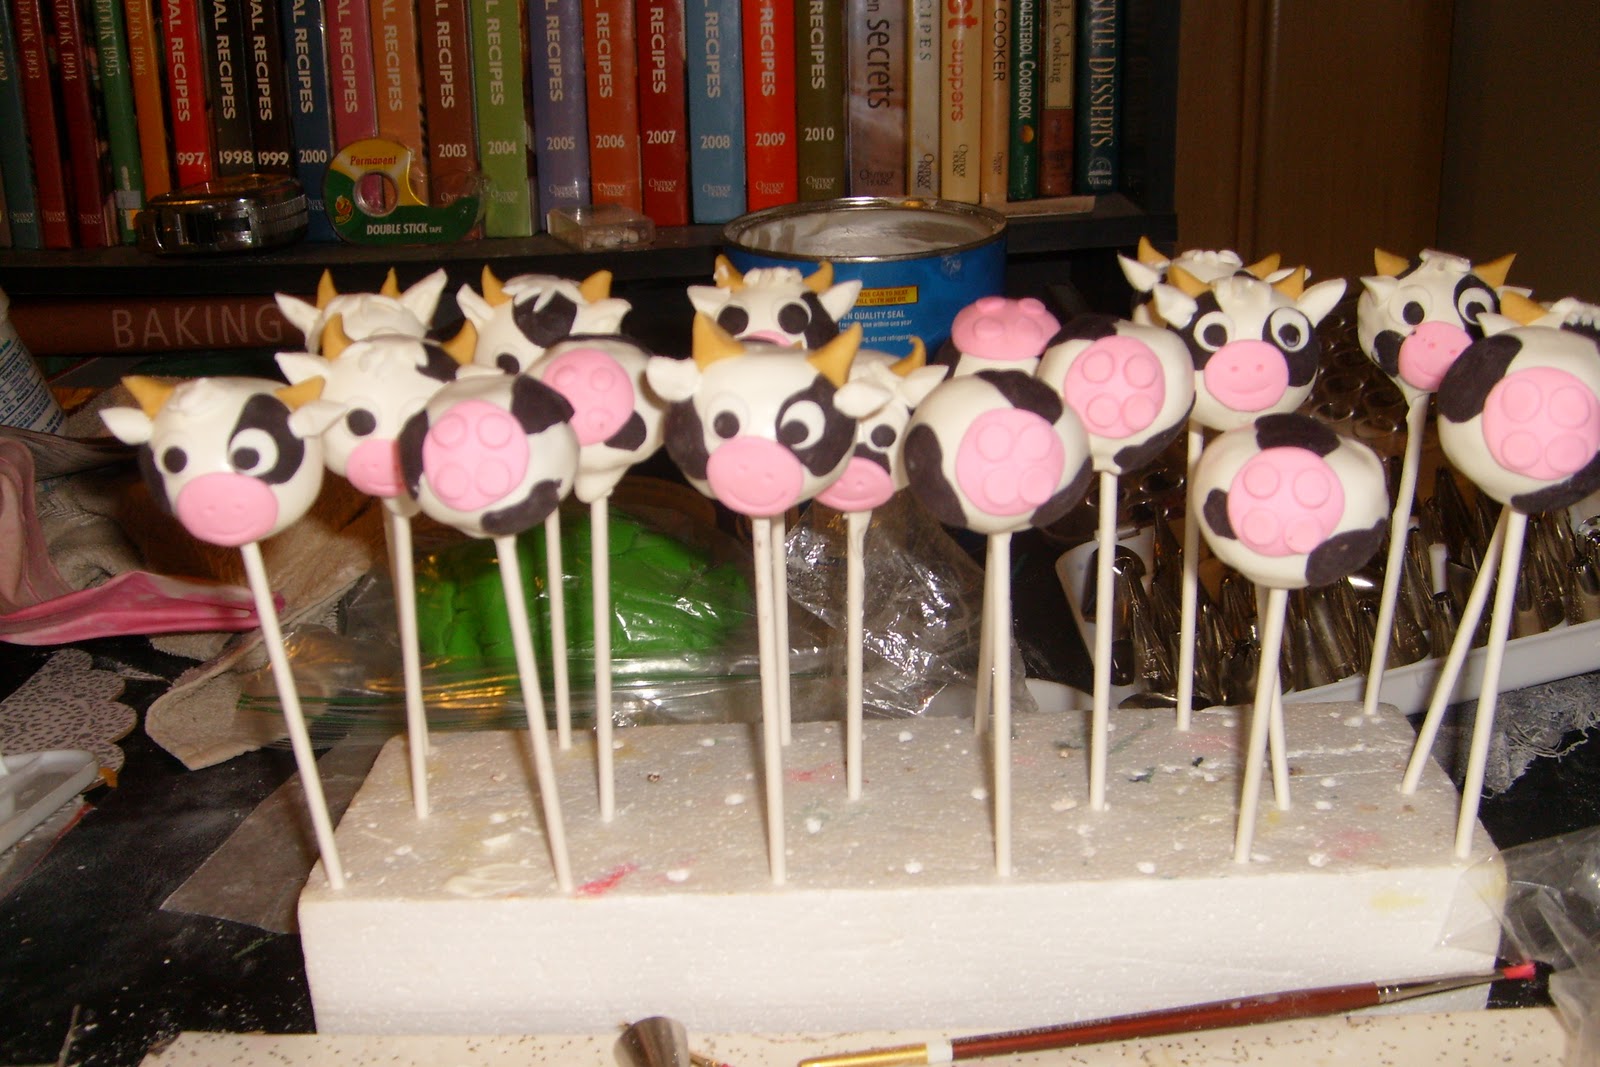
So the masochist in me decided to make cake pops. I have only made them once, and it was not a fun experience. I don't know how Bakerella gets them so cute and fabulous. Well, you can't improve if you don't try. (If you don't know about cake pops follow this link to Bakerella's site for pics and instructions). I melted some confectionery wafers in a double boiler and set up a little cake-pop assembly station on my stove

Better than my first attempt, but very lumpy and misshapen

I used modeling chocolate for all the details. I was pretty pooped at this point, hence the lack of in-process photos, sorry


 |
| Udder pops; I am easily amused |

So if you are a baker, or know a baker, or know a deserving kid, or a pediatrician, spread the word about Icing Smiles.
Love the blog and and very proud of you for all your hard work! Colton certainly looks happy with his fantastic cake! :-)
ReplyDeleteI just had some time to start reading your blog (FINALLY!!!!)
ReplyDeleteLOVE the cake!!! and the POPS are awesome!!! Thanks for showing all of your steps!
see ya on facebook chica!
Melissa Kelly-Hill
Thanks Melissa:)
ReplyDelete